Hobby presents
How to Make Tissue Paper Flowers for a Party Table
How to make tissue paper flowers step by step: stacking and folding, shaping petal edges, fluffing the layers, colour ideas and ways to hang or display them.
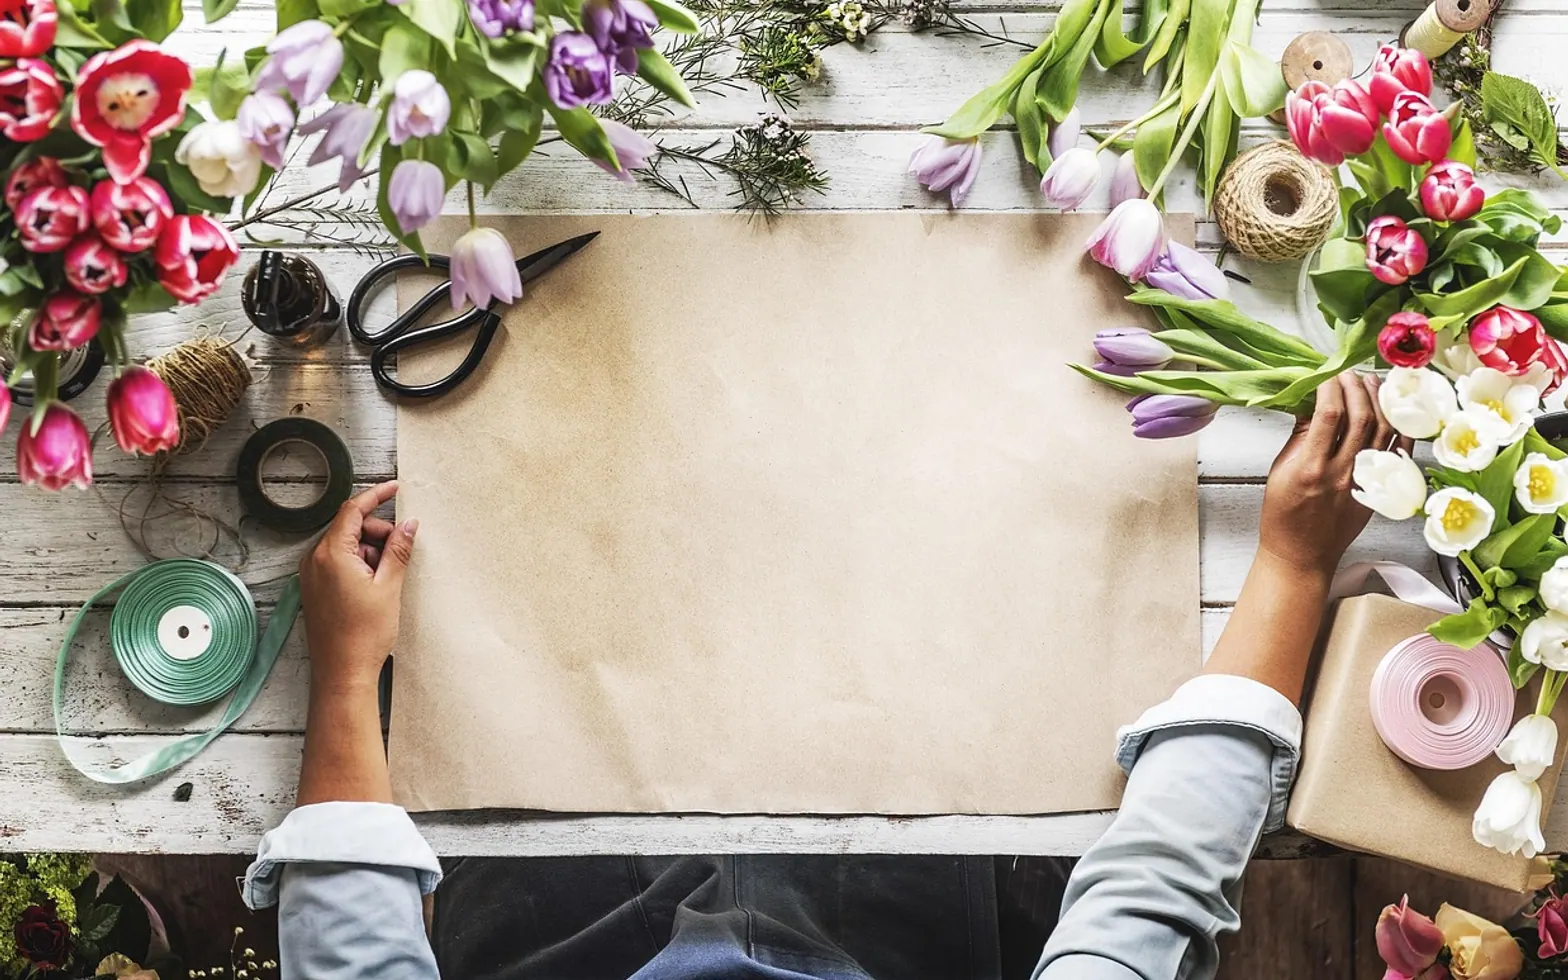
Tissue paper flowers are made by stacking several sheets of tissue, folding them like a fan, tying the middle with wire, trimming the ends into petal shapes and then gently pulling each layer up towards the centre. One flower takes about ten minutes once you have the knack, and a handful of them can dress a table, a doorway or a photo corner for a party.
What you need
- Tissue paper in two or three colours that go together
- Sharp scissors
- Thin florist's wire, pipe cleaners or twist ties
- Fishing line or ribbon if you plan to hang the flowers
- Optional: a pencil, a ruler and a stapler for small versions
Step by step: the classic pom-pom flower
- Stack the sheets. Lay six to ten sheets of tissue on top of each other, edges aligned. More sheets make a fuller flower; fewer make an airy, delicate one.
- Cut to shape. Trim the stack into a rectangle. A long rectangle gives a round pom-pom; a shorter, nearly square one gives a flatter bloom.
- Fold like a fan. Starting at a short edge, make an accordion fold back and forth across the whole stack, keeping each pleat about the width of two fingers. Press every fold firmly.
- Tie the middle. Wrap wire or a pipe cleaner tightly around the centre of the folded strip and twist it closed. Leave a tail if the flower will hang or sit on a stem.
- Shape the ends. Cut both ends of the folded strip into a curve for soft, rounded petals or into a point for spiky, star-like ones. Fringing the ends with small snips makes a carnation look.
- Open the fan. Spread both halves out so the strip becomes a bow-tie shape.
- Lift the layers. Starting with the top sheet, pull it slowly up towards the centre, then the next, and so on. Work half the stack on one side, turn the flower and repeat. Tissue tears easily, so lift from near the middle rather than tugging the edges.
- Fluff and adjust. Tease the layers apart until the gaps disappear and the flower looks full.
Petal shapes and what they look like
| Cut at the ends | Finished look | Good for |
|---|---|---|
| Rounded curve | Peony or rose style, soft and full | Wedding tables, backdrops |
| Sharp point | Dahlia or star shape | Bright birthday parties |
| Small fringe | Carnation, feathery edges | Gift toppers, small posies |
| Wavy scallop | Ruffled, informal bloom | Garden parties, picnics |
Colour ideas that work
Using two shades in one flower adds depth: put three or four sheets of a darker colour in the middle of the stack and lighter sheets on the outside, and the centre will glow through. A pale outer layer with a single bright sheet in the middle gives a subtle blush. For a whole room, pick one main colour, one accent and one neutral such as white or cream, and repeat them rather than adding new colours with each flower.
Small flowers for place settings
Cut a stack of five sheets into small squares, staple the centre, cut a circle around the staple and scrunch each layer upwards. These little blooms sit beside name cards, decorate napkin rings or top a wrapped present. They are also a calm, repetitive activity for an evening at home with a film on in the background.
Displaying them
- Hanging: tie fishing line to the wire and hang flowers at different heights from a curtain rail or ceiling hook. Groups of three in varying sizes look more natural than a straight row.
- Wall backdrop: attach flowers to a sheet of card or a board with tape loops for a photo wall; flatter blooms work best here.
- Table runner: lay small and medium flowers along the centre of the table between platters.
- Stems: push a length of garden wire or a wooden skewer wrapped in green tape into the base and stand them in a vase.
Paper flowers look lovely in soft light, but they catch fire very easily. Keep them well away from candles, fairy lights that run hot and heaters; battery candles are the safer choice anywhere near paper decorations.
For more ideas on setting a gentle mood, see the guide to a cosy, warm atmosphere for a wedding party. A small cluster of paper blooms can also turn a sofa corner into a themed screening space; the tips on hosting a movie night people remember cover the rest of the evening.
Mistakes to avoid
- Loose folds. Pleats that are not pressed firmly make the flower look flat and uneven.
- Wire tied too loosely. The centre twists and the layers slide apart.
- Rushing the fluffing. Most tears happen in the last few minutes.
- Making them all one size. Mixed sizes look deliberate; identical ones can look flat from a distance.
Paper or fresh?
Paper and fresh flowers combine well. Many hosts use real blooms on the tables, where guests see them up close, and paper ones on walls and ceilings, where size matters more than detail. If fresh flowers are part of the plan, the piece on how online flower delivery shops handle weddings and events explains how colour plans are matched across many arrangements. For a neater, folded style, try origami flowers such as a simple tulip and lily.
Once the party is over, fold the flowers back down gently, lay them flat in a box and fluff them again next time.
Scribbled on the inside cover
Why our guides wander from the sofa to the kitchen
A good evening at home is never only about the screen. It is the snack bowl within reach, a room that is not too hot or too loud, and a host who is not stuck fiddling with a cable when guests arrive. That is why a soundbar guide can sit next to a piece on window glass here.
We write for the person about to try something this weekend, so we keep steps short, warnings close to the step they belong to and opinions clearly labelled as ours.
Fennimore, Clementia, Wendeline and Corwin