Hobby presents
How to Press Flowers: Book, Press and Iron Methods
How to press flowers at home with a heavy book, a wooden flower press or an iron: which blooms work best, timings, avoiding mould and ways to keep the colour.
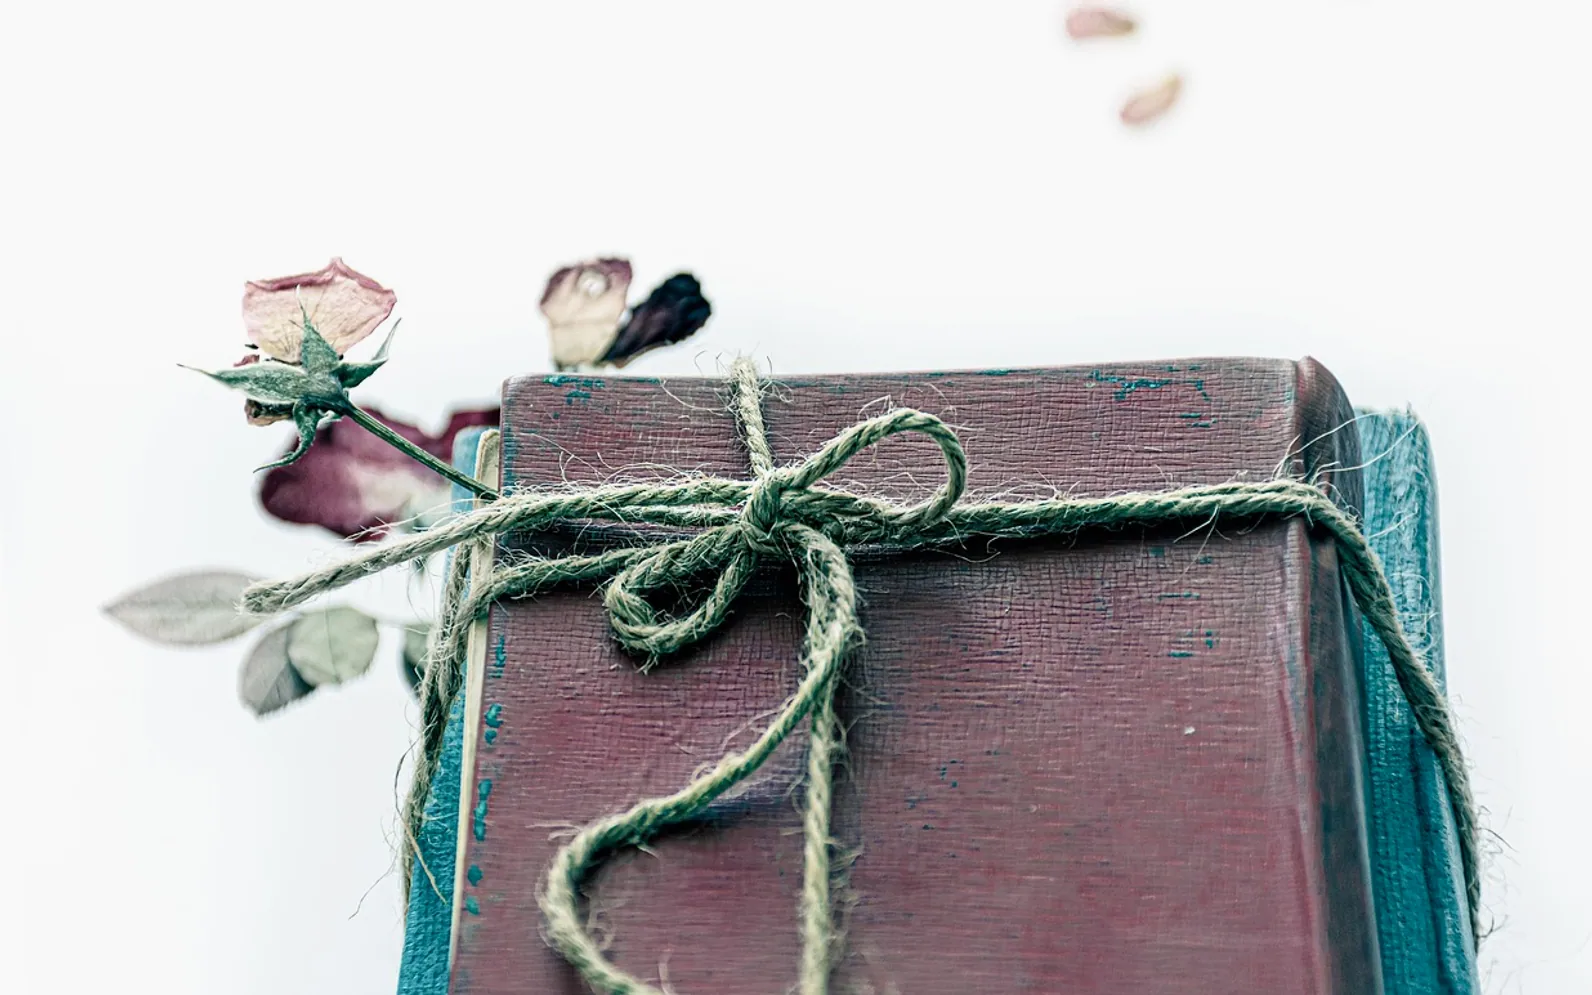
To press flowers, lay fresh, dry blooms face down between two sheets of absorbent paper, close them inside a heavy book or a flower press, add weight and leave them somewhere dry for two to four weeks, changing the paper if it feels damp. An iron speeds things up when you are short of time. The flowers come out flat, papery and ready for frames, cards and bookmarks.
Choose flowers that want to be flat
Pressing works best on blooms that are naturally thin or open-faced. Thick, layered flowers hold a lot of water and tend to brown or go mouldy before they dry.
| Presses easily | Needs some help | Better dried another way |
|---|---|---|
| Pansies, violas, cosmos, daisies, forget-me-nots, ferns, single hydrangea florets, most leaves | Roses, carnations, small sunflowers (press the petals separately or slice the flower in half) | Peonies, chunky lilies, thistles (hang them upside down to air-dry instead) |
Pick in the late morning on a dry day, once the dew has gone, and choose flowers that have only just opened. Petals that are already dropping will not improve under a book. If the flowers come from a bouquet, press them while they still look their best rather than waiting until they start to wilt.
Method 1: the heavy book
This is the classic approach and needs nothing special.
- Choose a large, heavy book you do not mind marking; moisture and plant pigments can stain the pages.
- Open it near the back so plenty of weight sits on top, and lay down a sheet of baking parchment, blotting paper or plain printer paper. Avoid textured kitchen roll, whose pattern can print onto the petals.
- Arrange the flowers face down without overlapping. Gently flatten trumpet shapes with a fingertip, and trim thick stems.
- Cover with a second sheet, close the book carefully and stack more books or a heavy object on top.
- Check after about a week. If the paper feels damp, swap it for a fresh sheet.
- Leave for two to four weeks in total, until the petals feel dry and papery and lift without bending.
Method 2: a flower press
A wooden flower press is two boards with layers of cardboard and blotting paper between them, tightened with screws or straps. It holds more flowers at once, applies even pressure and lets air circulate through the cardboard, which helps against mould. Build the stack as cardboard, paper, flowers, paper, cardboard, and repeat. Tighten the screws a little more every few days as the flowers shrink. Simple presses are easy to make from two pieces of plywood, four bolts and wing nuts.
Method 3: the iron, for quick results
An iron dries flowers in minutes rather than weeks, at the cost of slightly duller colours on some varieties.
- Empty the water tank and switch off the steam; moisture is exactly what you are trying to remove.
- Place the flower between two sheets of parchment on a firm, heat-safe surface.
- Press down with the iron on a low setting for ten to fifteen seconds, lift, let the steam escape, and repeat. Do not slide the iron, which drags petals out of shape.
- Finish the flowers in a book for a few days so they stay completely flat.
Keep an eye on the iron and the paper throughout, and let everything cool before handling.
Common mistakes
- Pressing wet flowers. Rain or dew leads straight to brown spots and mould.
- Overlapping petals. Layers trap moisture and stick together.
- Peeking too often. Opening the book every day lets petals shift and curl.
- Forgetting labels. A pencil note with the flower and date saves guesswork later.
Keeping the colour
All pressed flowers fade over time, but light speeds it up most. Display finished pieces away from direct sunlight and store spare flowers in a closed box between sheets of paper. Blues and purples often hold their colour well, while whites can turn creamy and some reds darken towards brown. That change can be part of the charm.
What to make with pressed flowers
- A double-glass frame that shows the flowers floating, with the wall colour behind them.
- Greetings cards and gift tags, with each flower fixed using a dab of glue applied with a toothpick.
- Bookmarks sealed in self-adhesive laminate.
- Place cards and table confetti for a celebration, a small, personal detail that suits a wedding with a cosy, warm atmosphere.
- A keepsake from a bouquet: florists who work on wedding and event flowers delivered by online shops often plan arrangements with lighter blooms that press well, so it is worth asking for a few spare stems.
Questions people ask
How long does it take to press flowers?
Two to four weeks in a book or press, depending on the thickness of the flower and the humidity in the room. With an iron, a few minutes, plus a short rest under weight.
Can you press flowers from a bouquet?
Yes. Take them out early, cut the stems short and pat away any water from the vase before pressing.
Is pressing the same as drying?
Both remove water, but pressing flattens the flower for paper crafts, while hanging bunches upside down keeps a three-dimensional shape for vases and wreaths.
When fresh flowers are out of season, folded ones fill the gap; the guide on making tissue paper flowers for a party table uses the same colour planning on a bigger scale.
Scribbled on the inside cover
Why our guides wander from the sofa to the kitchen
A good evening at home is never only about the screen. It is the snack bowl within reach, a room that is not too hot or too loud, and a host who is not stuck fiddling with a cable when guests arrive. That is why a soundbar guide can sit next to a piece on window glass here.
We write for the person about to try something this weekend, so we keep steps short, warnings close to the step they belong to and opinions clearly labelled as ours.
Fennimore, Clementia, Wendeline and Corwin