Movies presents
How to Set Up a Projector at Home
How to set up a projector at home: pick the wall or screen, work out throw distance, level and focus the image, connect sources, add sound, tame room light.
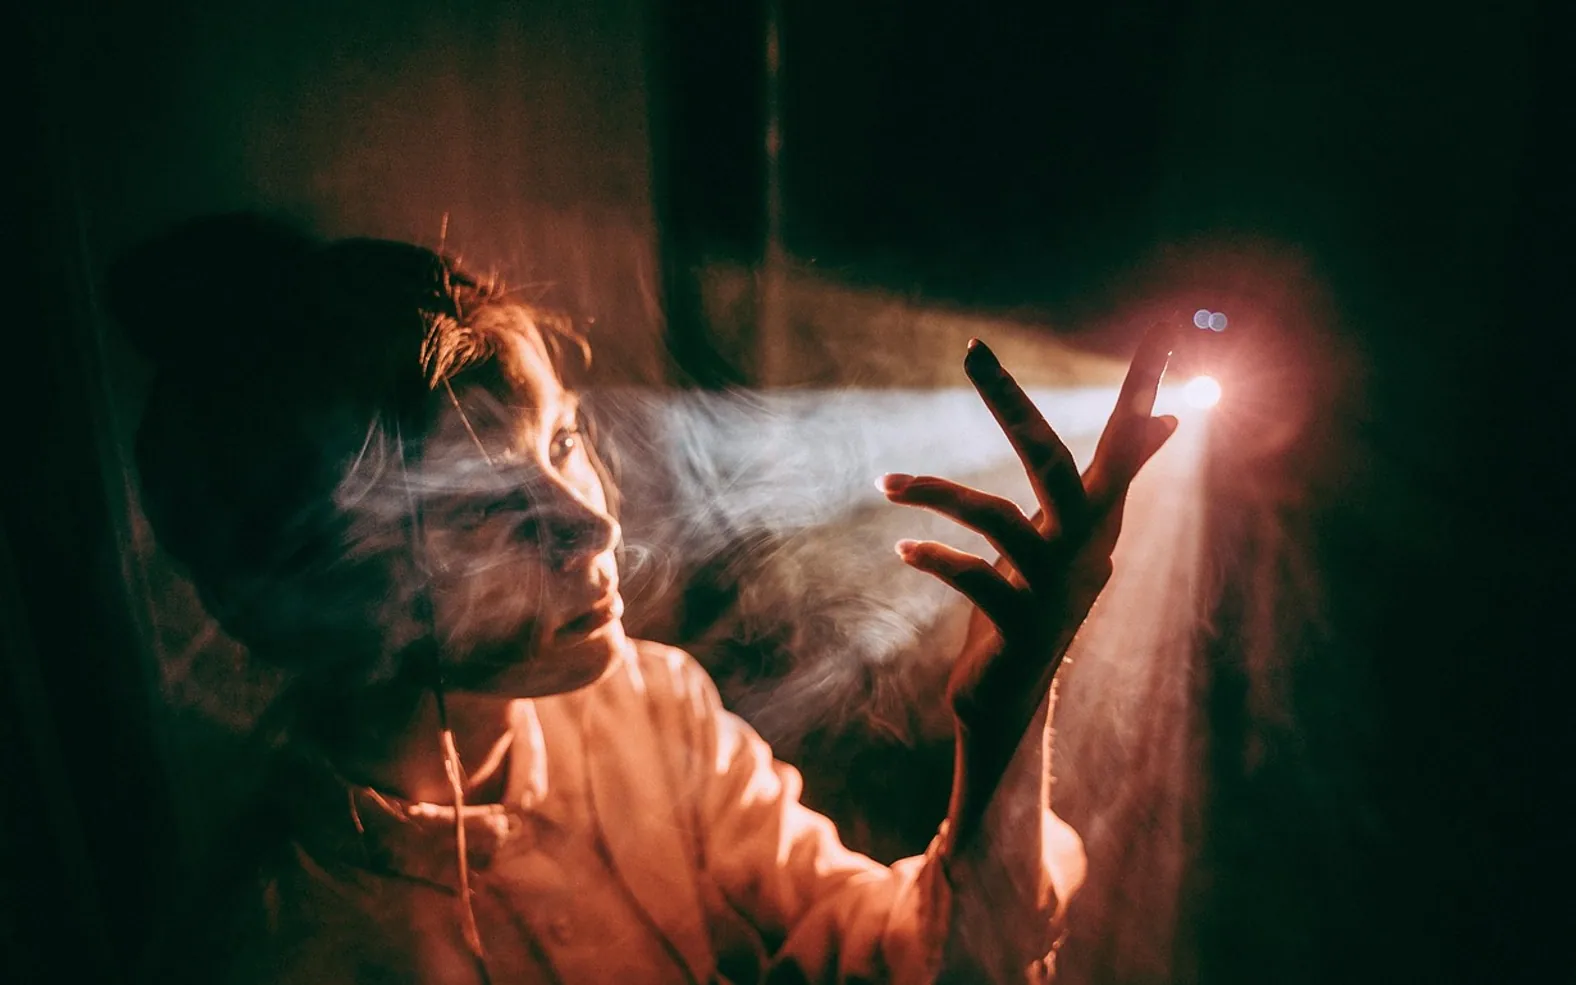
The first time a projected image fills a wall in your own living room, it feels like a small magic trick. Getting there is less about the projector itself and more about where you put it, what you aim it at and how much light you can keep out. Work through the steps below in order and you will spend far less time fiddling with menus later.
1. Choose the surface
A proper screen gives the most even picture, but a smooth, matte, light-coloured wall is a perfectly good place to begin. Glossy paint creates a bright hot spot in the middle, and textured plaster shows up as a faint pattern across dark scenes. Check the wall in daylight for cracks, picture hooks or switches that will sit inside the image.
- Fixed screens stay perfectly flat and suit a dedicated room.
- Pull-down or tripod screens disappear when not needed, which helps in a shared living room.
- A painted wall costs only a weekend if you are allowed to decorate; in a rented home, check before you paint.
2. Work out the throw distance
Every projector has a throw ratio: how far from the surface it must sit to produce a picture of a given width. The manual or the maker's website usually lists it, and many have an online calculator. Measure your room, decide how wide you want the image, and see where that puts the projector. A short-throw model can sit close to the wall; a standard one may need to be on the far side of the room or behind the sofa.
Think about the seats at the same time. The picture should fill a comfortable share of your view without forcing you to turn your head to follow the action.
3. Pick the mounting position
| Position | Advantages | Watch out for |
|---|---|---|
| Coffee table or shelf | No drilling, easy to move | Heads in the way, gets knocked |
| Rear shelf behind seating | Out of the way, quiet if the fan faces away | Long cable runs |
| Ceiling mount | Permanent, nothing to set up each time | Drilling, cable routing, mounting it upside down in the menu |
Ideally the lens sits level with the centre of the screen, or level with its top or bottom edge depending on the model's offset. If you have to tilt the projector sharply, the image becomes a trapezoid.
4. Square up and focus
- Project a test pattern or a still menu screen with plenty of straight lines.
- Move the projector rather than the image wherever you can, until the edges line up with the screen.
- Use lens shift if your model has it; it moves the picture without distorting it.
- Use keystone correction only as a last resort. It straightens the outline digitally but can soften detail.
- Adjust the zoom, then the focus, checking small text at the edges as well as the middle.
5. Connect your sources
Most home set-ups use a streaming stick, a disc player, a games console or a laptop. A wired HDMI connection is usually the most reliable. If the projector sits far from your sources, plan the cable route before mounting anything: along a skirting board, under a rug edge or through proper trunking, never stretched across a walkway where someone can trip. Long runs may need a cable rated for the distance.
If your household already uses internet TV, the same box can feed the projector. Our look at IPTV and the Dutch home touches on how these services fit into everyday rooms.
6. Sort out the sound
Built-in projector speakers are often small, and they sit wherever the projector does, which may be behind you. A soundbar or a pair of speakers placed near the screen anchors voices to the picture. Many projectors can pass audio out via HDMI or an optical port, or you can run sound from the source device directly.
7. Control the light
Projectors are at their best in a dim room. Blackout curtains or blinds make a large difference for daytime viewing, and pale walls close to the screen reflect light back onto it. Soft lamps behind the seating let people move around without washing out the picture. If street noise or a neighbour's television competes with quiet scenes, our guide to soundproofing a room on a budget has some simple fixes.
8. Fine-tune the picture
Switch to a cinema or movie picture mode as a starting point; the brightest preset is usually designed for showrooms. Then:
- Let the projector warm up for a few minutes before judging the image.
- Adjust brightness so dark scenes show detail without turning grey.
- Set contrast so bright clouds and white shirts keep their texture.
- Leave sharpness low; high settings add halos around edges.
Looking after it
Keep the vents clear and dust them now and then, since heat shortens the life of lamps and electronics. Let the fan finish its cool-down cycle before unplugging, and cap the lens when the projector is not in use. Check the manual for how filters or lamps should be cleaned or replaced, and follow its safety notes for mounting.
Scribbled on the inside cover
Why our guides wander from the sofa to the kitchen
A good evening at home is never only about the screen. It is the snack bowl within reach, a room that is not too hot or too loud, and a host who is not stuck fiddling with a cable when guests arrive. That is why a soundbar guide can sit next to a piece on window glass here.
We write for the person about to try something this weekend, so we keep steps short, warnings close to the step they belong to and opinions clearly labelled as ours.
Fennimore, Clementia, Wendeline and Corwin